No products in the cart.


5. Click-iT 488 Tunel Cell Apoptosis Detection Kit; 50 T $776
$776.00
In Stock
Description
Product Information
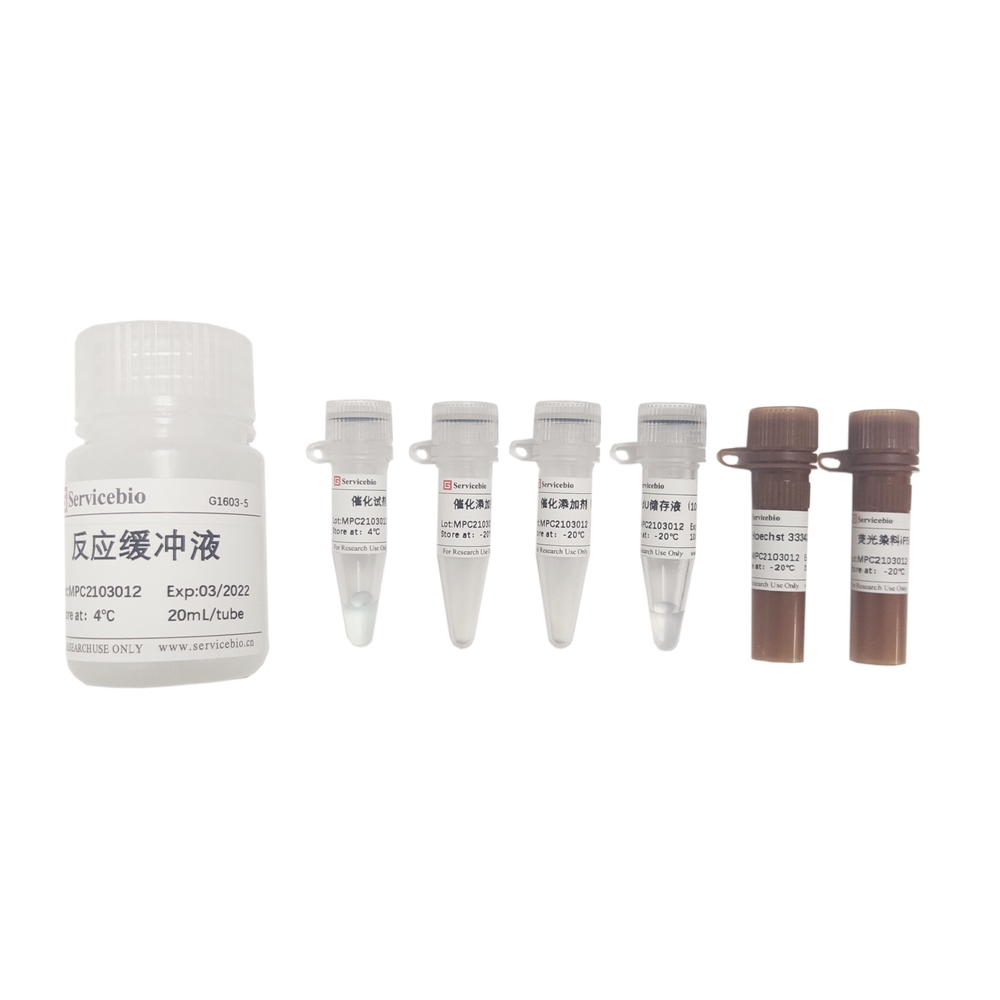
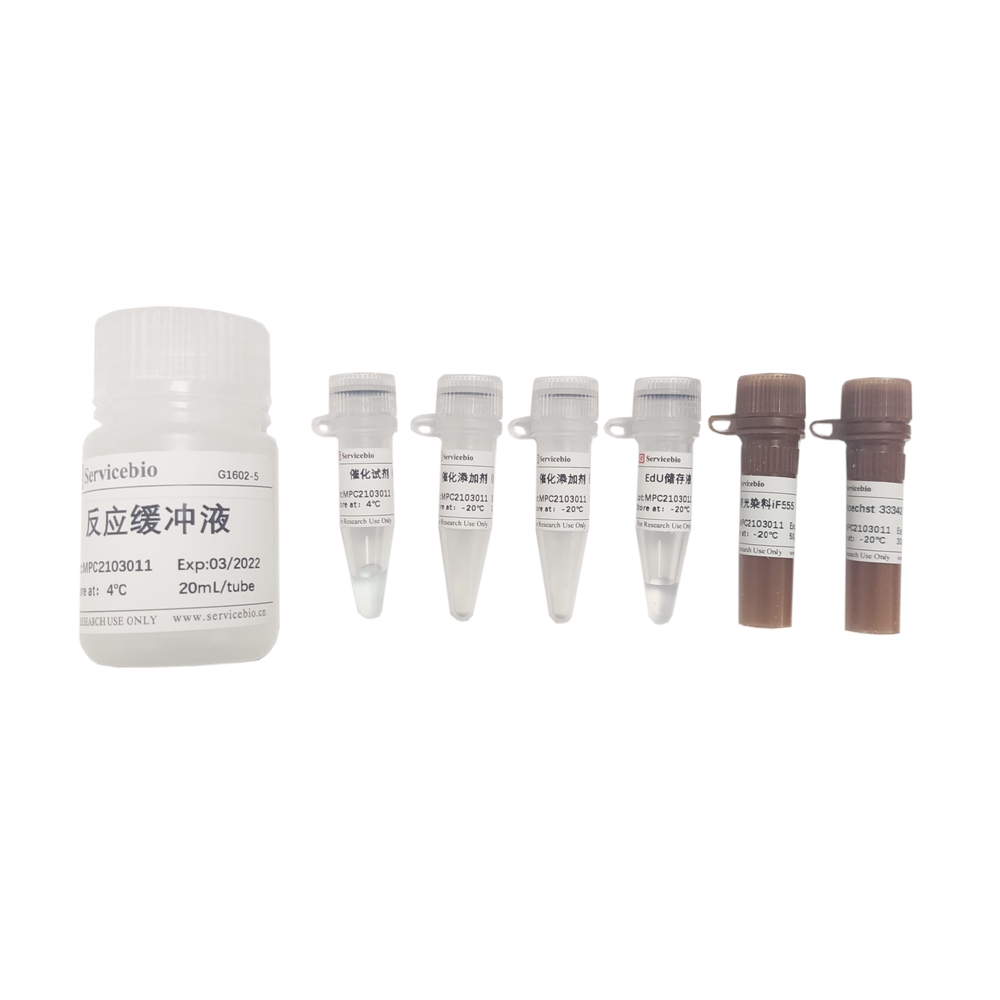
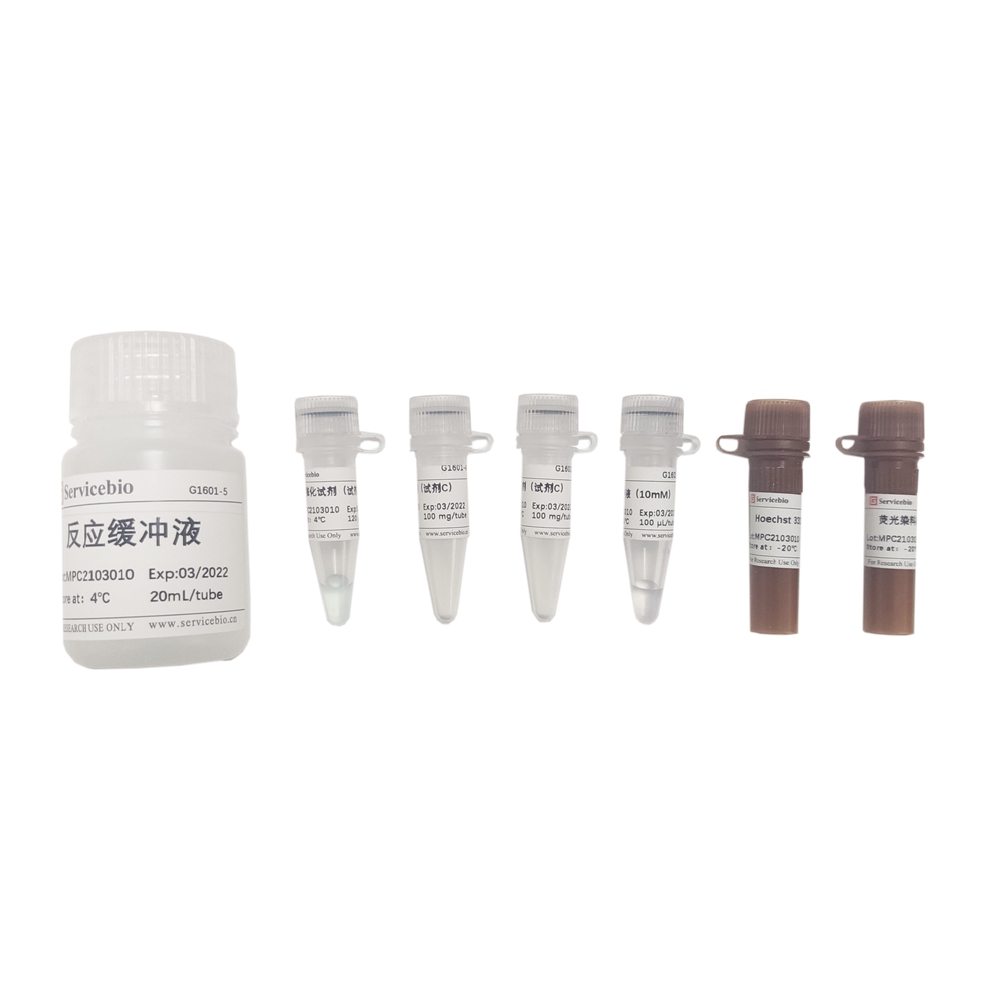
Product Name: Click-iT 488 Tunel Cell Apoptosis Detection Kit Product Number: G1506-50T Specifications: 50T
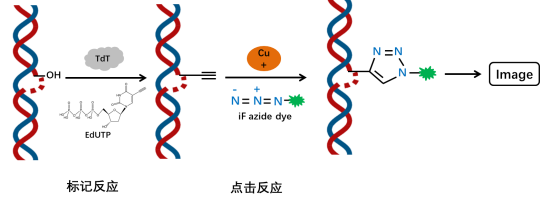
Product Description: The fragmentation of chromosomal DNA during cell apoptosis is a progressive and staged process. Chromosomal DNA is first degraded into large fragments of 50-300 kb by endogenous nucleases, and then approximately 30% of chromosomal DNA is randomly cleaved between nucleosome units by Ca2+- and Mg2+-dependent endonucleases, forming 180-200 bp nucleosomal DNA oligomers. Therefore, during the late stage of cell apoptosis, DNA is degraded into fragments of 180-200 bp, exposing a large number of 3′-OH ends on the fragmented genomic DNA. Terminal Deoxynucleotidyl Transferase (TdT) is a template-independent DNA polymerase that catalyzes the binding of deoxyribonucleotides to the 3′-OH ends of fragmented DNA molecules. Therefore, the TUNEL (TdT-mediated dUTP Nick End Labeling) cell apoptosis detection kit can be used to detect the fragmentation of nuclear DNA in tissue cells during the late stage of apoptosis.
The principle is that under the action of TdT enzyme, the exposed 3′-OH ends during genomic DNA fragmentation are labeled with EdUTP (a dUTP modified with an alkyne group), and the alkyne group undergoes a cyclization reaction with an azide dye catalyzed by monovalent copper ions (click reaction), thereby introducing a fluorescence moiety at a specific site. The kit uses iF488 azide as the dye, which can be detected using fluorescence microscopy or flow cytometry (iF488 excitation at 491 nm, emission at 516 nm). Compared to other modified dUTPs, EdUTP has smaller steric hindrance and is more easily incorporated into DNA ends by TdT enzyme.
The kit has a wide range of applications and is suitable for the detection of cell apoptosis in paraffin-embedded tissue sections, frozen tissue sections, cell smears, and cell scrapings, among others.
Storage and Transportation: Transportation: Ice bag (wet ice) Storage: -20°C, shelf life of 12 months.
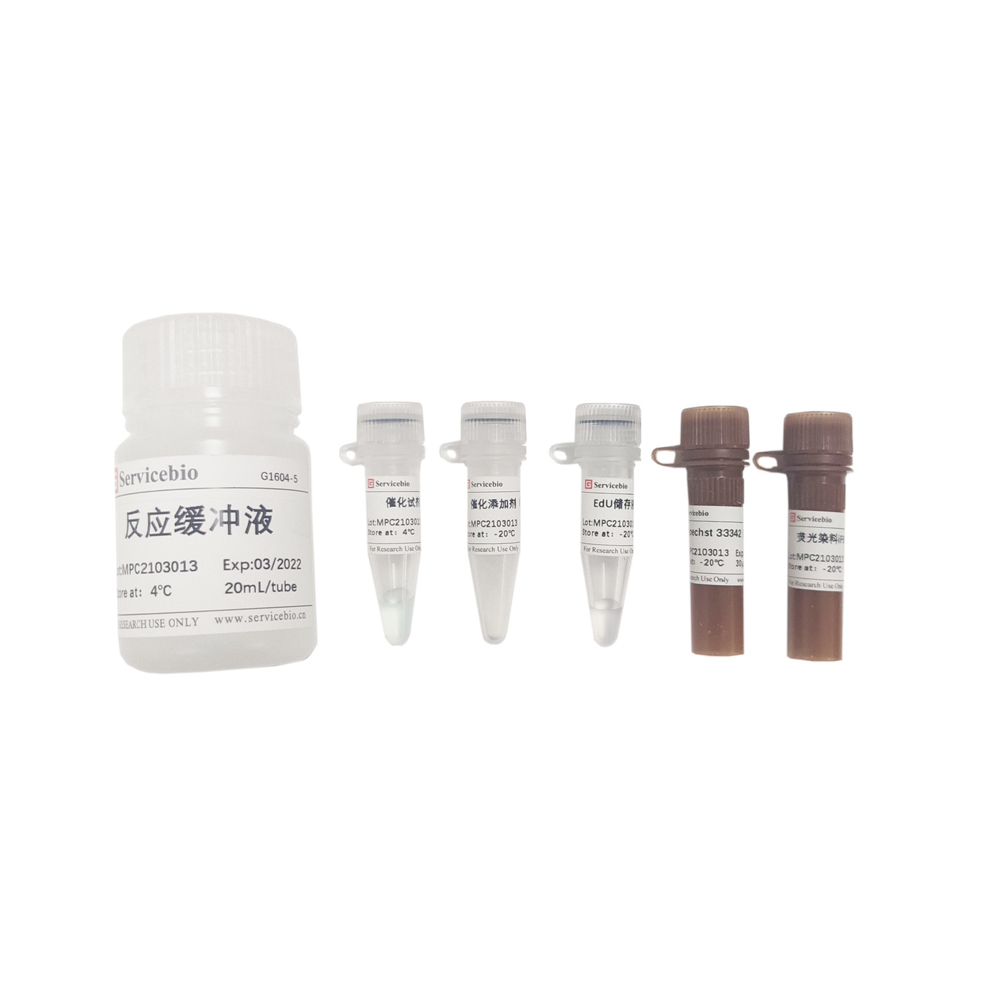
| Component Number | Component | G1506-50T |
| G1506-1 | Recombinant TdT Enzyme | 50 µL |
| G1506-2 | EdUTP Labeling Mix | 250 µL |
| G1506-3 | Equilibration Buffer | 5×1 mL |
| G1506-4 | Proteinase K(200 µg/mL) | 1 mL |
| G1506-5 | iF488 azide dye | 80 μL |
| G1506-6 | Reaction Buffer A | 5×1 mL |
| G1506-7 | Reaction Buffer B | 60 μL |
| G1506-8 | Reaction additive(Reagent C) | 2×100 mg |
| instruction | 1 | |
Preparation before the experiment:
- Phosphate-buffered saline (PBS) solution (recommended G0002 or G4202).
- Fixative solution: 4% paraformaldehyde dissolved in PBS, pH 7.4 (recommended G1101).
- Permeabilization solution: 0.1% Triton X-100 dissolved in 0.1% sodium citrate (recommended G1204).
- 0.2% Triton X-100 in PBS; 0.1% Triton X-100 in PBS containing 5 mg/mL BSA.
- If nuclear staining is required, prepare DAPI (2 µg/mL), Hoechst 33258, or PI (1 µg/mL) separately (recommended G1012, G1011, G1021).
- If positive control experiment is needed, prepare DNase I separately (recommended G3342).
- If using a flow cytometer, prepare PI staining solution (recommended G1021) and RNase A (DNase free) (recommended G3413).
- Reaction additive (Reagent C): Dissolve 100 mg powder in 1 mL ultrapure water (ready for use), aliquot 100 μL and store at -20°C, reserve the remaining powder for future use. (Reagent C is prone to oxidation, so it should be protected from prolonged exposure to air. It is strongly recommended to aliquot the water solution into smaller portions. The color of the Reagent C solution may change slightly, but the reaction system can still function normally. If it turns brown, it indicates that the component has expired.)
- If the background color of the results is too dark, it may be due to insufficient washing during the experiment or residual fixative solution.
- When preparing the click reaction solution, add the components in the specified order and mix gently while adding.
- For your safety and health, please wear a lab coat and disposable gloves while performing the experiment.”
Please note that some of the terms may be specific to laboratory procedures and reagents, so it’s always a good idea to consult the manufacturer’s instructions or seek further clarification if needed.
Please note that this is a translation of the product information provided. It is always recommended to refer to the original documentation and instructions provided by the manufacturer for accurate and up-to-date information.
Step 1: Sample Preparation
A. Paraffin Embedding Tissue Sections
- Immerse paraffin tissue sections in xylene at room temperature for 5-10 minutes, repeat 2-3 times. Then immerse in absolute ethanol for 5 minutes, repeat 2 times. Finally, immerse in gradient ethanol (85%, 75%, double-distilled water) for 1 time each, 5 minutes each time.
- Rinse the sections gently with PBS and remove excess liquid around the samples. Use a histology pen to draw a small circle about 2-3 mm away from the tissue perimeter, which facilitates subsequent permeabilization and labeling steps. Throughout the experiment, make sure the samples do not dry out. Keep the processed samples in a humid chamber.
- Prepare Proteinase K working solution: Dilute Proteinase K (200 µg/mL) stock solution in PBS with a ratio of 1:9, resulting in a final concentration of 20 μg/mL.
- Add 100 μL of the Proteinase K working solution onto each sample, ensuring it covers the entire sample. Incubate at 37°C for 20 minutes.
- Rinse the samples 3 times with PBS for 5 minutes each time to remove Proteinase K (failure to wash away Proteinase K may interfere with subsequent labeling reactions). Keep the processed samples in a humid chamber.
- (Optional step) Remove excess liquid from the samples and add an appropriate amount of membrane permeabilization solution to fully infiltrate the tissue. Incubate at room temperature for 20 minutes. After membrane permeabilization, rinse the samples with PBS 3 times for 5 minutes each time. Keep the processed samples in a humid chamber.
B. Frozen Tissue Sections
- Immerse frozen tissue sections in a fixation solution and incubate at room temperature for 10-15 minutes.
- Remove the tissue sections from the fixation solution and air dry in a fume hood.
- Rinse the tissue sections in distilled water or PBS to remove residual fixation solution.
- Use a histology pen to draw a small circle about 2-3 mm away from the tissue perimeter. Throughout the experiment, make sure the samples do not dry out. Keep the processed samples in a humid chamber.
- Prepare Proteinase K working solution: Dilute Proteinase K (200 µg/mL) stock solution in PBS with a ratio of 1:9, resulting in a final concentration of 20 μg/mL.
- Add 100 μL of the Proteinase K working solution onto each sample, ensuring it covers the entire sample. Incubate at room temperature for 10 minutes.
- Rinse the samples 2-3 times with PBS to remove excess liquid (Proteinase K should be thoroughly washed away to avoid interference with subsequent labeling reactions). Keep the processed samples in a humid chamber.
- (Optional step) Add an appropriate amount of membrane permeabilization solution to fully infiltrate the tissue. Incubate at room temperature for 20 minutes. After membrane permeabilization, rinse the samples with PBS to remove excess liquid. Keep the processed samples in a humid chamber.
C. Cell Cytospin
- Culture adherent cells in Lab-Tek Chamber Slides. After apoptosis induction treatment, rinse the chamber slides gently with PBS twice.
- Add an appropriate amount of fixation solution to cover the tissue in each chamber slide. Incubate at room temperature for 20 minutes.
- Remove the fixation solution and rinse with PBS 3 times for 5 minutes each time.
-
Step 4: Permeabilization
- Immerse each sample in a 0.2% Triton X-100 solution prepared in PBS, and incubate at room temperature for 5 minutes.
- Rinse the samples 2-3 times with PBS in an open beaker containing PBS solution.
- Gently remove excess liquid and use filter paper to carefully dry the area around the samples on the glass slide. Keep the processed samples in a humid chamber to maintain their moisture.
Step 5: Permeabilization (continued)
- Repeat the permeabilization step by immersing each sample in a 0.2% Triton X-100 solution prepared in PBS at room temperature for 5 minutes.
- Rinse the samples 2-3 times with PBS in an open beaker containing PBS solution.
- Gently remove excess liquid and use filter paper to carefully dry the area around the samples on the glass slide. Keep the processed samples in a humid chamber to maintain their moisture.
Step 2: DNase I Treatment Positive Control Experiment (Optional)
After permeabilization of the samples, perform a positive control experiment by treating the samples with DNase I (recommended G3342).
- Add 100 μL of 1x DNase I Buffer (prepared by taking 10 μL of 10x DNase I Buffer and adding 90 μL of deionized water) onto the permeabilized samples and incubate at room temperature for 5 minutes.
- Gently remove excess liquid and add 100 μL of working solution containing DNase I (20 U/mL) (prepared by taking 10 μL of 10x DNase I Buffer, adding 2 μL of DNase I, and then adding 88 μL of deionized water) onto the samples. Incubate at room temperature for 10 minutes.
- Gently remove excess liquid and thoroughly wash the glass slide in a staining jar containing PBS, repeating the wash 3-4 times.
Step 3: Labeling and Detection
- Equilibration: Add 50 μL of Equilibration Buffer onto each sample to cover the entire area of the sample. Incubate at room temperature for 10 minutes.
- Labeling solution preparation: Thaw EdUTP Labeling Mix and Equilibration Buffer on ice. Mix Recombinant TdT enzyme, EdUTP Labeling Mix, and Equilibration Buffer in a ratio of 1 μL:5 μL:50 μL (1:5:50) to prepare enough TdT incubation buffer for all experiments. Adjust the volume of reagents used in the experiment according to the size of the glass slide.
- Negative control system: Prepare a control TdT incubation buffer without Recombinant TdT enzyme, using ddH2O instead.
- Labeling: Remove excess Equilibration Buffer and add 56 μL of TdT incubation buffer onto each tissue sample. Incubate at 37°C for 1 hour. Avoid drying the slide.
- Immediately wash the tissue samples with PBS, repeating the wash 4 times for 5 minutes each time.
- Click reaction: Remove the previous PBS buffer and add 100 μL of Click reaction solution onto each sample, ensuring it covers the entire sample. Incubate at room temperature in the dark for 30 minutes. (Refer to the table below for the Click reaction solution composition, add each reagent while mixing, and adjust the preparation amount proportionally as needed. It is recommended to prepare in advance.)
Component Volume Reaction Buffer A 925 μL Reaction Buffer B 10 μL iF488 azide dye 15 μL Reaction additive (Reagent C) 50 μL Total volume 1000 μL - Remove the click reaction solution and wash the sample with PBS buffer 2-3 times, each time for 5 minutes.
- Gently remove the PBS solution around the sample using a filter paper.
- Nuclear staining: Stain the sample in a staining dish by immersing the slide in a staining dish containing DAPI solution (prepared and diluted with fresh PBS) at room temperature for 8 minutes (or use Hoechst 33258 for nuclear staining).
- Mounting: After the sample staining is complete, wash the tissue sample with PBS 3 times, each time for 5 minutes. Then gently remove the excess liquid and add anti-fade mounting medium (recommended G1401) to mount the sample.
- Microscopic examination: Immediately analyze the sample under a fluorescence microscope. Handle the slide carefully and avoid light exposure. DAPI stains both apoptotic and non-apoptotic cells blue, while the iF488 azide dye specifically localizes in the apoptotic cell nuclei and emits green fluorescence.
Four, Detection of Suspended Cells by Flow Cytometry
- Wash the cells to be analyzed twice with PBS, centrifuge at 4℃ (500 g), and resuspend in 500 µL of PBS.
- Fixation: Add 5 mL of 1% paraformaldehyde solution prepared in PBS to the sample, fix the cells, and place on ice for 20 minutes.
- Centrifuge the cells at 4℃, 300 g for 10 minutes, remove the supernatant, and resuspend in 5 mL of PBS twice. Finally, resuspend the cells in 500 µL of PBS.
- Permeabilization: Add PBS solution containing 0.2% Triton X-100 to the cell sample, incubate at room temperature for 5-10 minutes to permeabilize the cells.
- Centrifuge the cells at 300 g for 10 minutes, resuspend in 5 mL of PBS, and centrifuge again. Then, resuspend the cells in 1 mL of PBS.
- Equilibration: Transfer approximately 2×10⁶ cells to a 1.5 mL microcentrifuge tube, centrifuge at 300 g for 10 minutes, remove the supernatant, and resuspend in 80 μL of Equilibration Buffer. Incubate at room temperature for 5 minutes.
- Prepare the labeling solution: Thaw the EdUTP Labeling Mix and Equilibration Buffer on ice. Mix Recombinant TdT enzyme, EdUTP Labeling Mix, and Equilibration Buffer in a ratio of 1 µL: 5 µL: 50 µL (1:5:50) to prepare enough TdT incubation buffer for all experiments and optional positive control reactions.
- Labeling: Centrifuge the cells at 300 g for 10 minutes, remove the supernatant, and resuspend the pellet in 56 μL of TdT incubation buffer. Incubate at 37℃ for 1 hour, avoiding light. Gently resuspend the cells every 15 minutes using a micropipette.
- After the reaction is complete, remove the labeling reaction solution and wash the sample with PBS, washing 3-4 times, each time for 5 minutes.
- Click reaction: Remove the previous PBS buffer and add 100 μL of click reaction solution to the sample, ensuring that it covers the entire sample. Incubate at room temperature, avoiding light, for 30 minutes. (Refer to the table below for the click reaction solution,
Please note that some of the steps may require specific reagents and equipment, and it’s essential to follow the protocols and safety guidelines provided by your institution or the specific procedure you are following.add each reagent in sequence while mixing. The preparation quantity can be proportionally increased or decreased. It is recommended to prepare in advance.)
Storage and Transportation: Transportation: Ice bag (wet ice) Storage: -20°C, shelf life of 12 months.